Fire, theft, water damage, what this 19th Century house lived through reads like an insurance claim gone mad. Saving it from the brink were Wendy and David Campbell of Co Down.
In this article we cover:
- State house was in when they bought it and building’s history
- How they tackled the renovation with a limited budget
- Structural issues, choice of new materials
- Roof rebuilds
- Keeping original features like single glazing
- Heating rooms with stoves, how to use them including maintenance
- Keeping on top of the budget
- Living on site and doing up the house room by room
- Interior design tips for a period house
- Thrifty kitchen design
- Supplier list
- Before photos and professional photographs
Overview
Site size: 1.5 acres
House size: 4,500 sqft
Starting their own business was perhaps the best training Wendy and David could have wished for, as the same qualities were required when they tackled the renovation of this historic building; courage, determination and hard work. The business was in fact the reason why the couple decided to risk everything on a derelict property.
“When we started off we ran the business in Dundrum from our home and had a separate showroom, we also had two warehouses in Newcastle,” explains Wendy. “When it was time for us to find a new place to live, we realised it was our opportunity to have everything in the one place. We wanted to live the dream of the 30 second commute.”

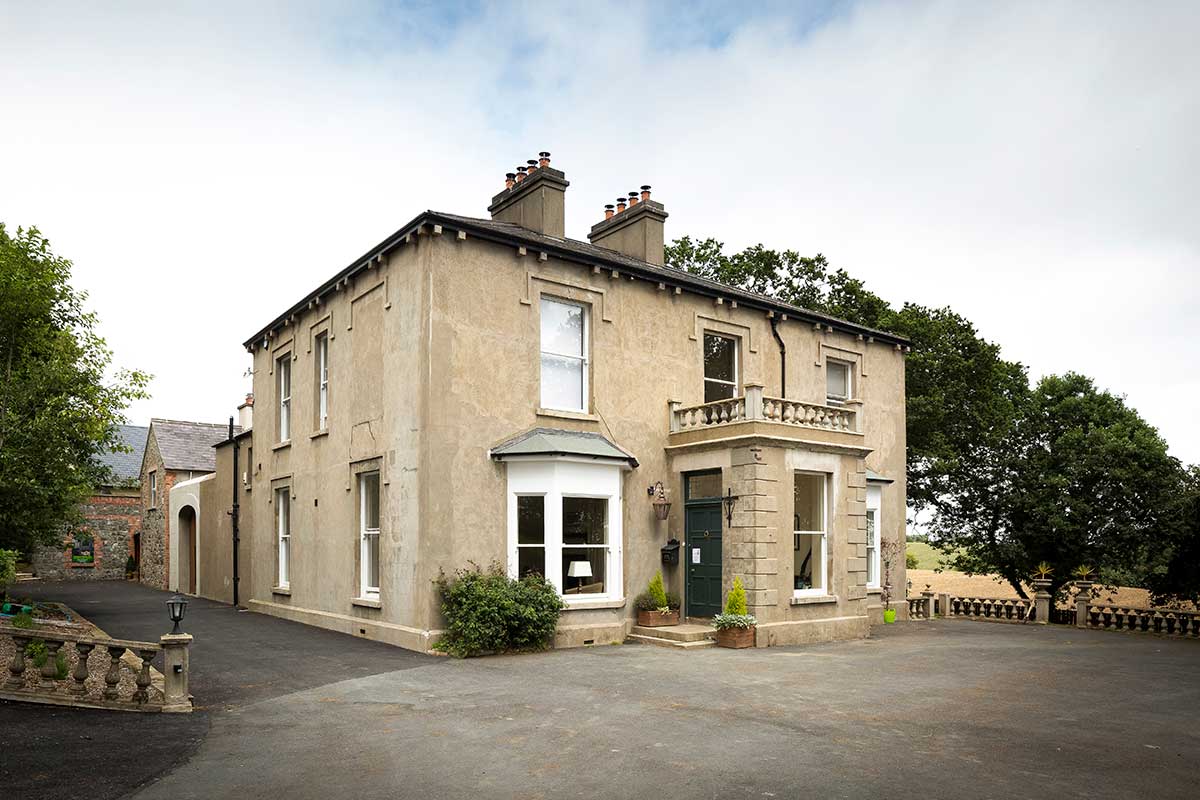
“The barn was an ideal location for a showroom and I simply fell in love with the rectory,” she adds. “Despite the fact that it was a ruin I could picture it as a family home.”
“Wendy brought me down to see it on April Fool’s day and, needless to say, I thought it was a joke!,” says David. “It was a bit daunting, and we realised it was a massive gamble. But we had been through an extension a few years previous, which made us feel well equipped.”

“We also had friends and family to help. We consulted with architects and builders and did a lot of research.” The same electrician and the same person who did the groundwork for their extension were brought back on board. But the rectory is three times as big as their previous house and four times as big as Wendy’s first digs.
“This kind of experience will undoubtedly test any marriage,” she comments. “If you’re energetic enough to take on a project like this, make sure you and your partner are on solid ground.”
“Wendy sold this to me as a ‘wee project’,” says David. “But what it really entailed was me taking a back seat from the business while project managing a lot of the work, often spending seven days a week pushing on, which is probably why we have achieved so much in a relatively short period on a limited budget and not having a big workforce.”
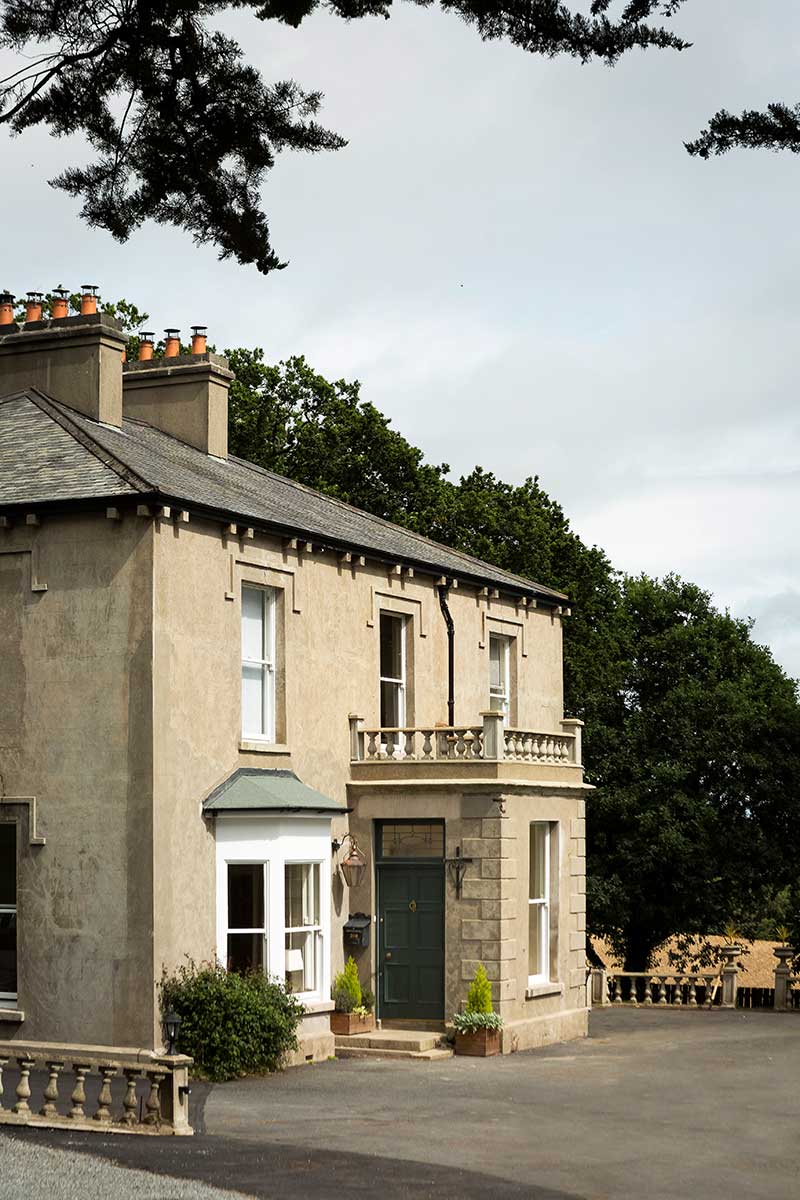
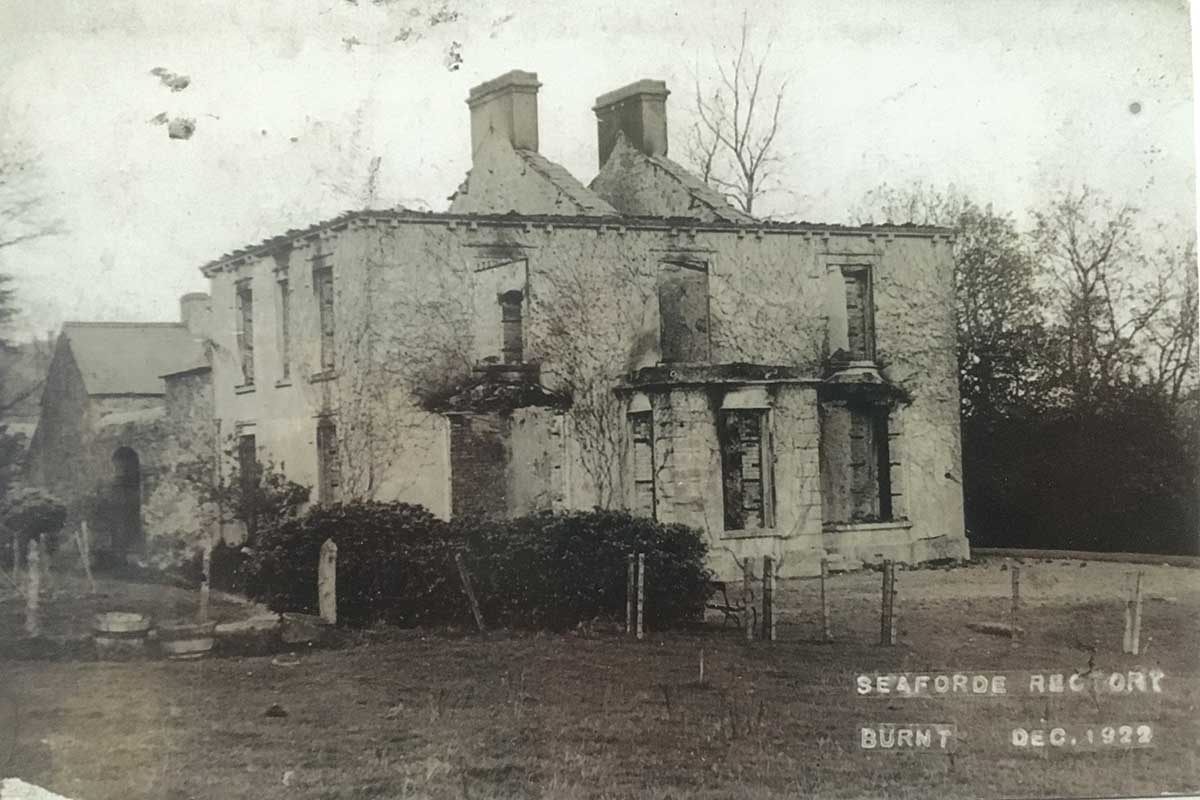
Fire, theft and water damage
The rectory was built around 1830 and in 1922 a fire destroyed the house, leaving only the walls standing. A new roof was instated, new windows, all the lead work was redone. “I think the building isn’t listed because it was essentially rebuilt after the fire,” says Wendy.
As a result very little of the original plaster was left. “We still find scorched timber in the walls,” she adds. The house was extensively renovated in the 1980s including some replastering work.
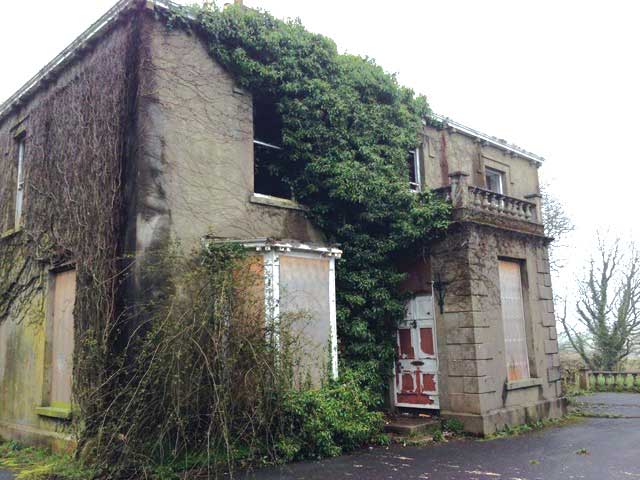
When Wendy and David discovered the rectory in 2014 it had been earmarked for demolition, as it had been ravaged by neglect. “The house was purchased from the previous owners by a developer who planned to demolish it. No effort was made to protect the structure so it fell into disrepair,” explains Wendy.
“The building had been left empty for eight years; during this time vandals stole the copper, lead and smashed everything. All of the window panes were broken as were all the light fixtures.” The carpets had been lifted and some of the floorboards too to access the copper pipes.

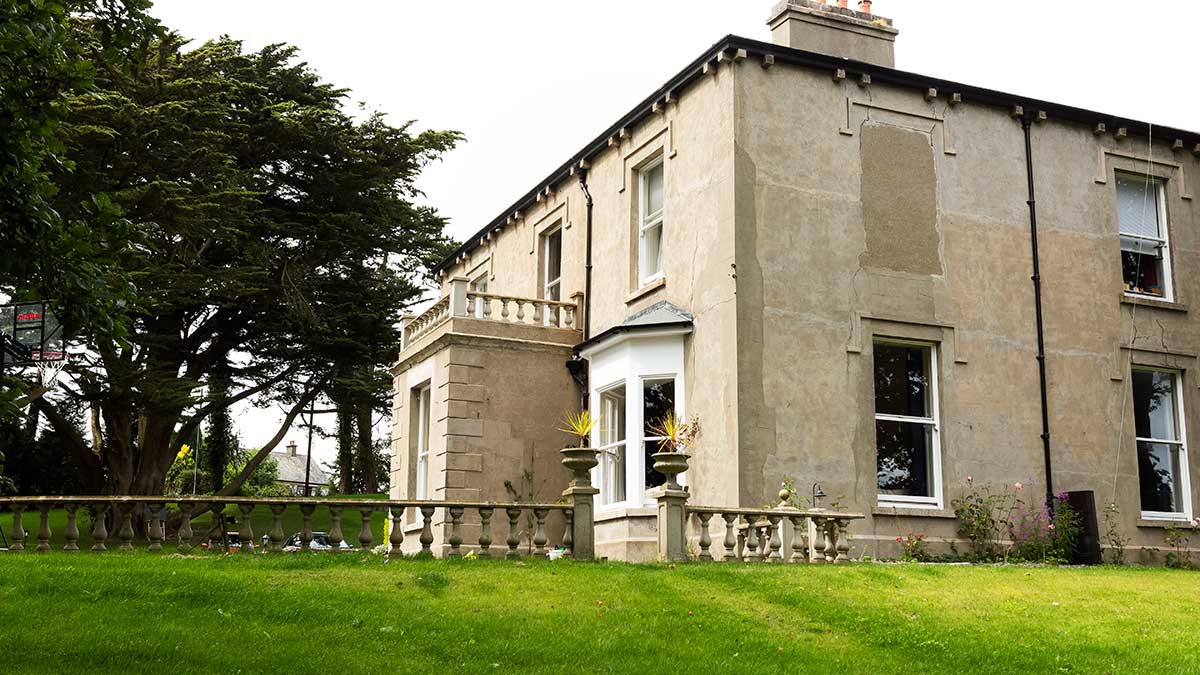
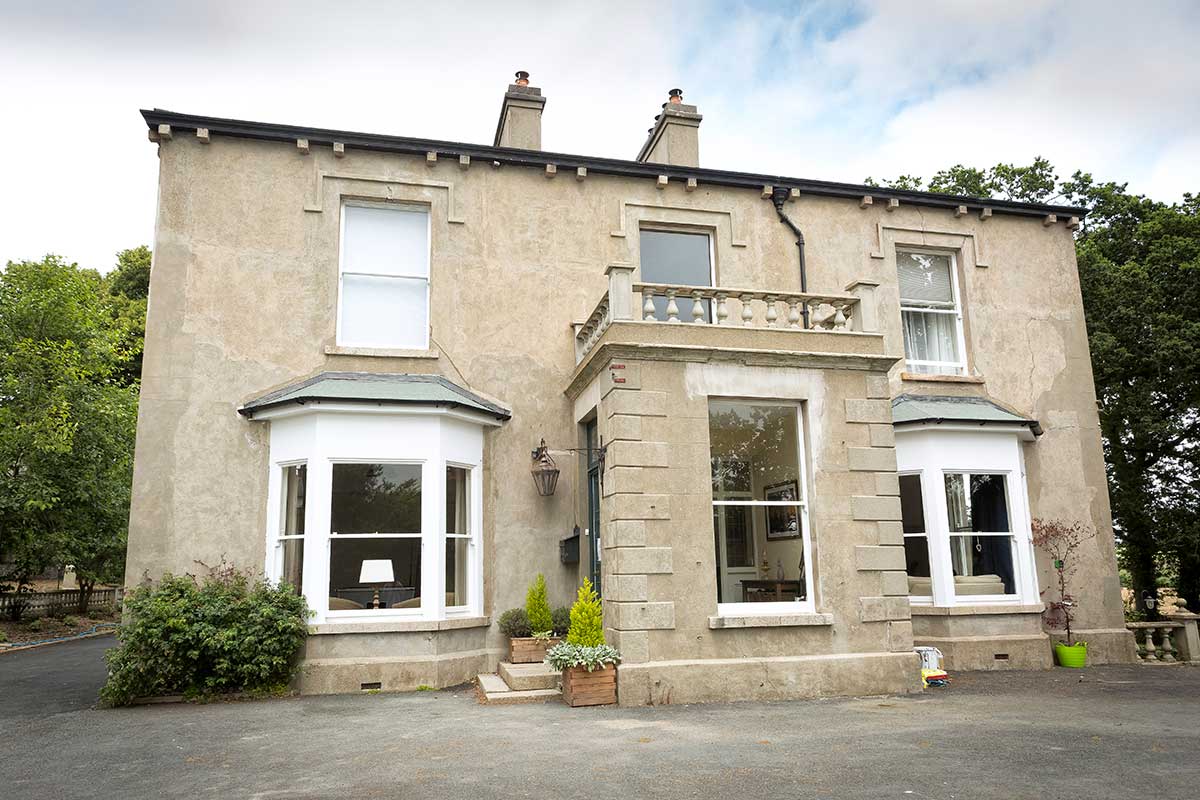
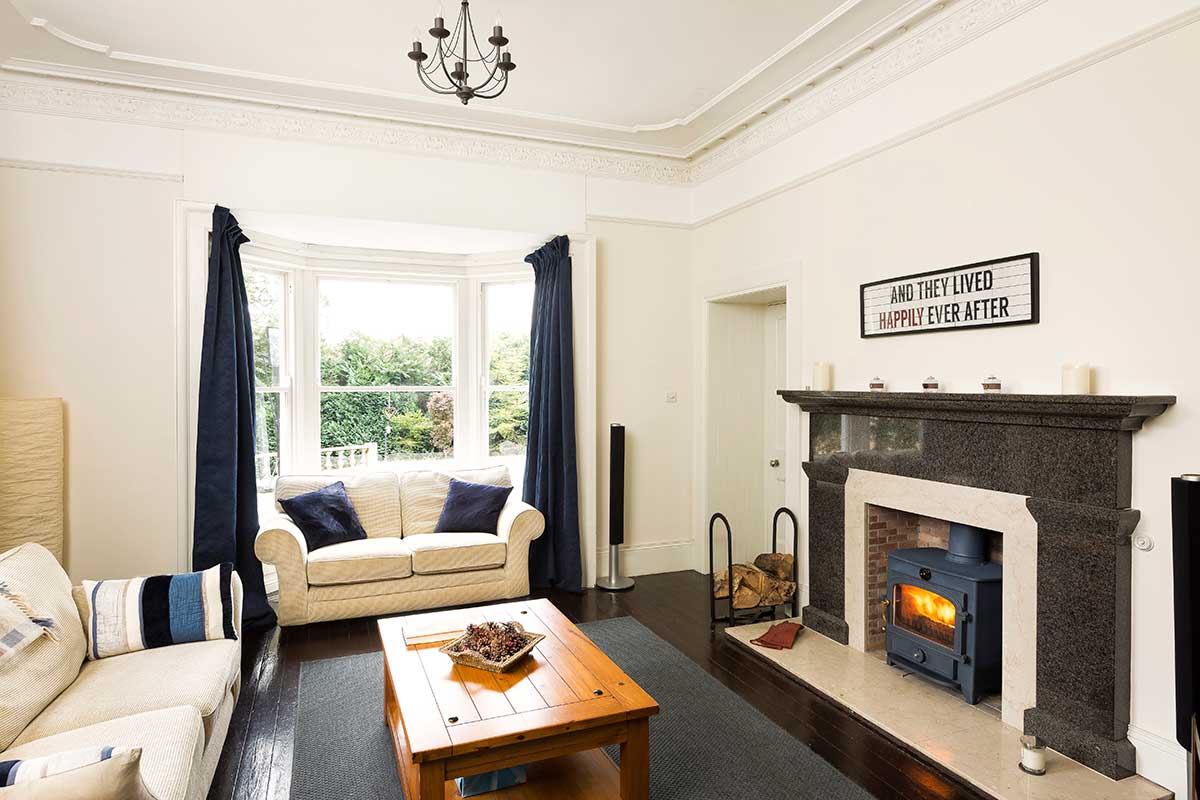
“We did however salvage enough timber to lay down original boards in the living and dining rooms, which we sanded and stained,” adds Wendy. Covering the bay windows and porch were flat roofs entirely made of lead; two smaller roofs at the back also contained large amounts. The lead was stolen which resulted in water entering the building and causing damage.
Wendy and David reinstated the original apex over the two-bay windows by following the patches on the wall. “In many ways the house led us as much as it was us leading it,” adds Wendy. “For the first three months we spent our time taking things apart and putting them back together again.”
Thankfully the main roof was in good shape; they only had to deal with minor repairs – a few cracked and slipped tiles. The roof space is now used as storage and an electrified ladder provides access. “As the upper floor ceiling is 12ft high we needed something custom made anyway so we chose to get an electrified model, and considering the weight of the ladder I’m thankful we did.”
Making an unusual entrance to the building site was Wendy on her first hard-hat visit. “My foot went through the floor in the upstairs bathroom,” she recounts.
“It was a sign we might need some reinforcement. There had been damage to quite a few joists which we replaced with steel; the company that supplied the beams was able to do all the structural calculations so that saved us having to get our engineer to do them.”

Adding warmth
David and Wendy sell stoves for a living, so it’s not surprising to hear they have eight of them installed in the house. In fact they used their home to demonstrate it’s possible to entirely heat, and provide hot water for, an historic property exclusively with stoves. Even though it’s well known that passive houses only require one stove in the living area for warmth throughout the house, older properties aren’t nearly as well insulated or airtight.
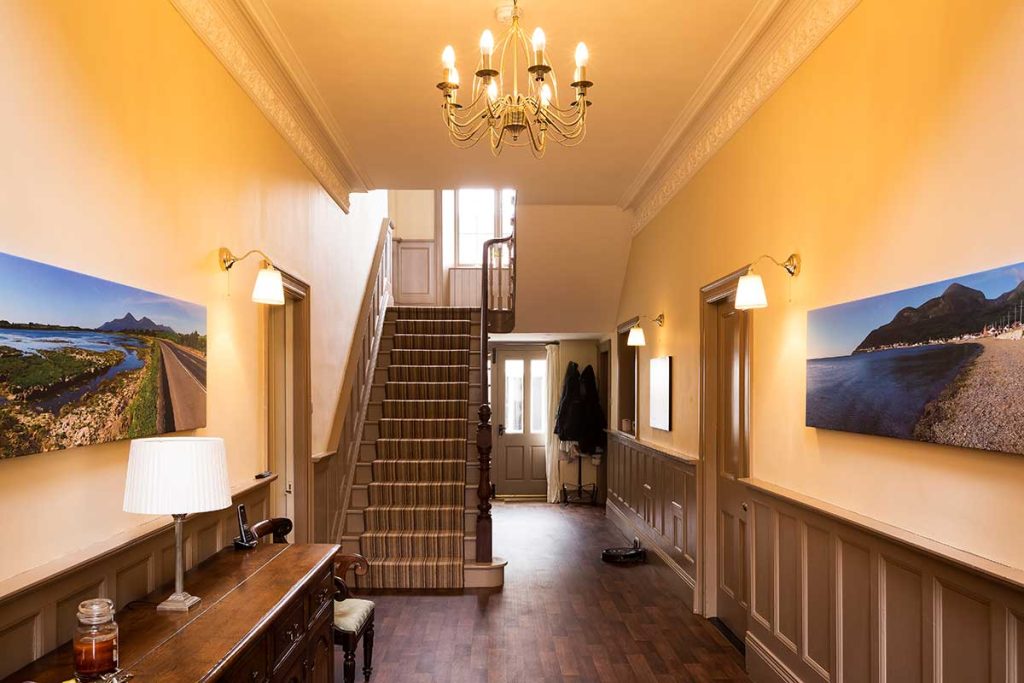
“Despite the fact that we’ve retained the single glazed windows, because the eight chimneys are no longer open fires but are closed appliances with an 80mm duct feeding them, we suffer very little in the form of draughts,” explains David.
The only issue is condensation on the single panes which they’ll be tackling with a positive air ventilation system. “Our first priority was to make the house watertight – the lead roofs were missing so we had massive leaks,” says Wendy. “But the very first thing we did, after battling the ivy to get to the front door, was get the fireplaces unblocked and lining the chimneys.”
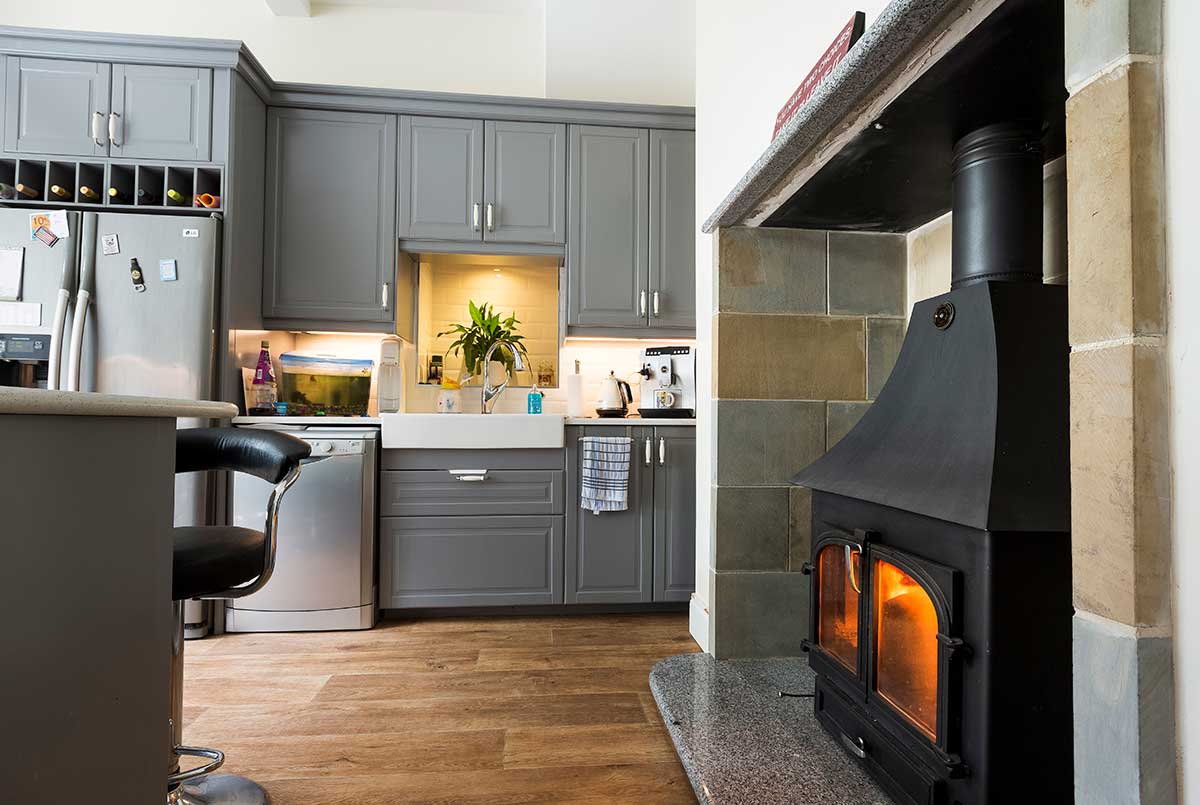
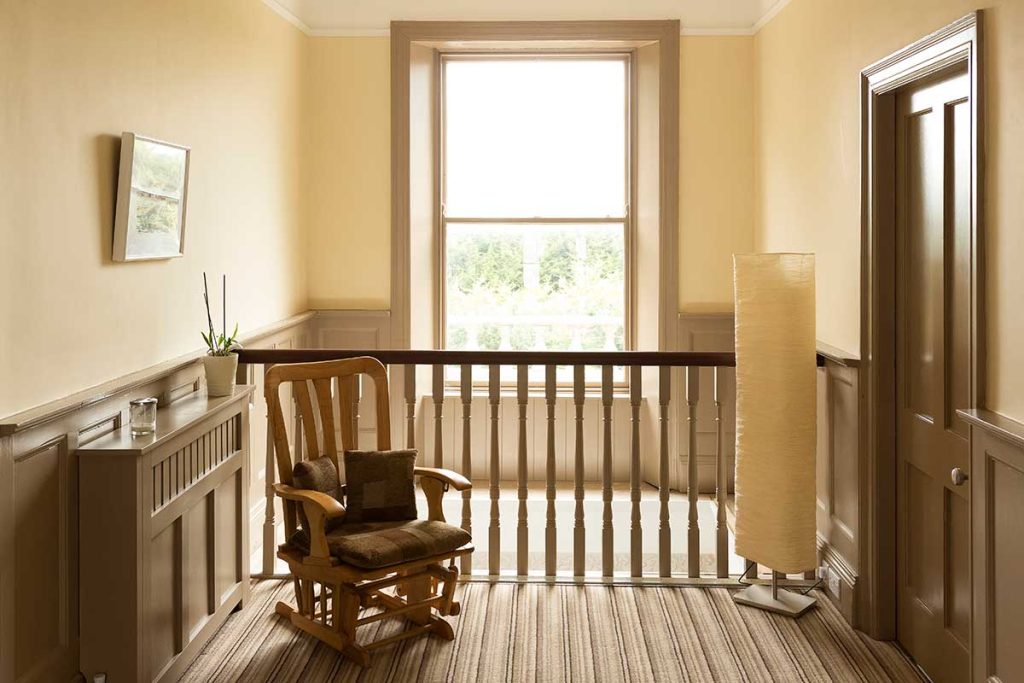
The stoves helped the house dry out at this early stage – and they were advised to do this very slowly. The kitchen stove has a back boiler to feed the hot water tank and three radiators (the towel warmer in the bathroom and two on the landing).
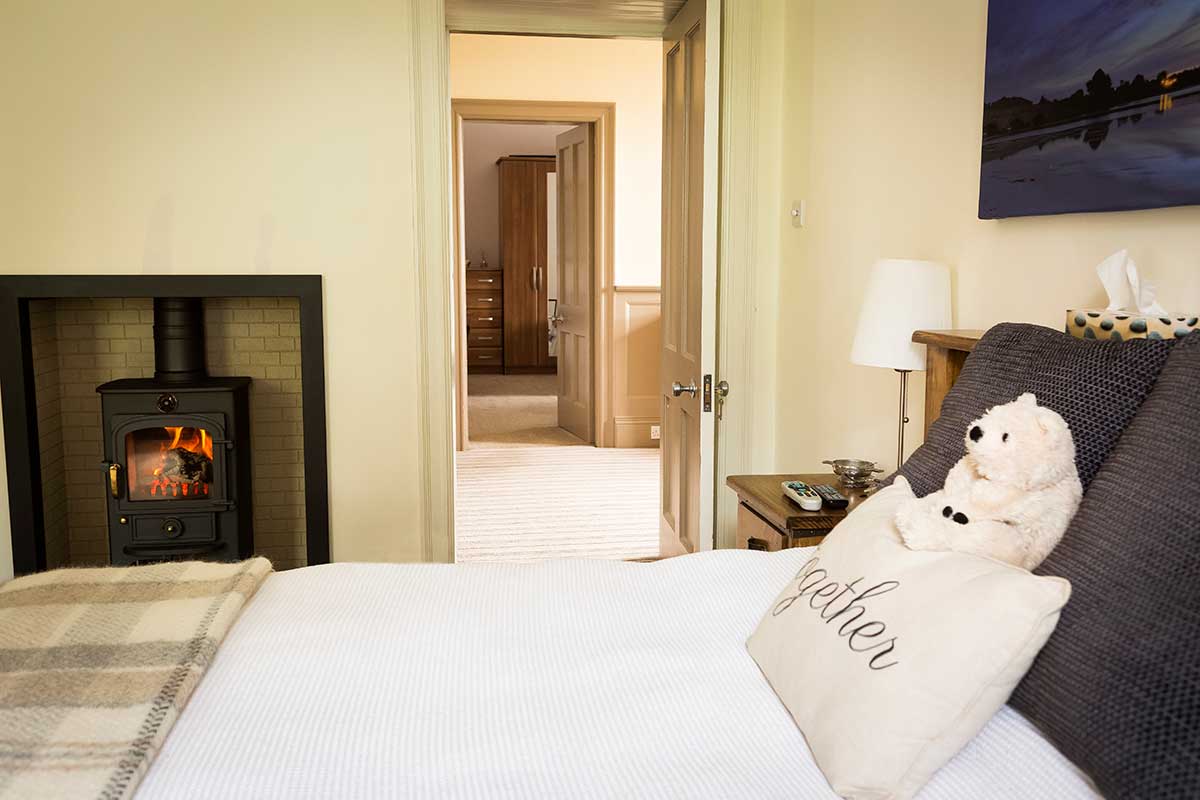
“Looking back we should have installed that radiator in the entrance hall as that’s the only room that can get cool in winter. After all, heat rises,” says Wendy. The four bedrooms also have a stove each, which are lit from October to March before bedtime. In the winter months the kitchen and living room stoves are lit 24/7.
“You do have to be careful not to light the fire too early in the season,” cautions Wendy. “We put in a couple of logs in our bedroom on a cool September evening and had to sleep with the windows open. “There are an additional four stoves in the showroom and another in the office.
“In the depths of winter the stoves only need to be cleaned out once a week,” says Wendy. “As they burn very efficiently there isn’t much ash.” To retain all of this heat the couple decided to add some insulation.
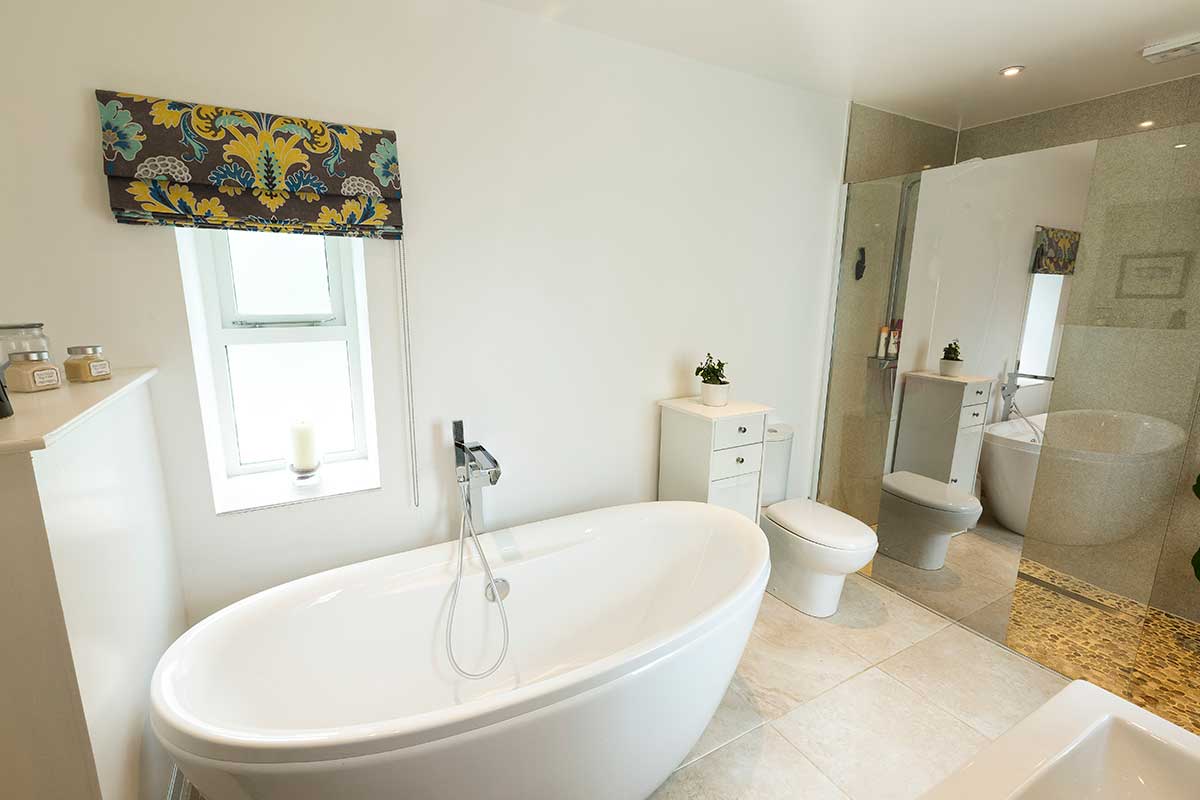

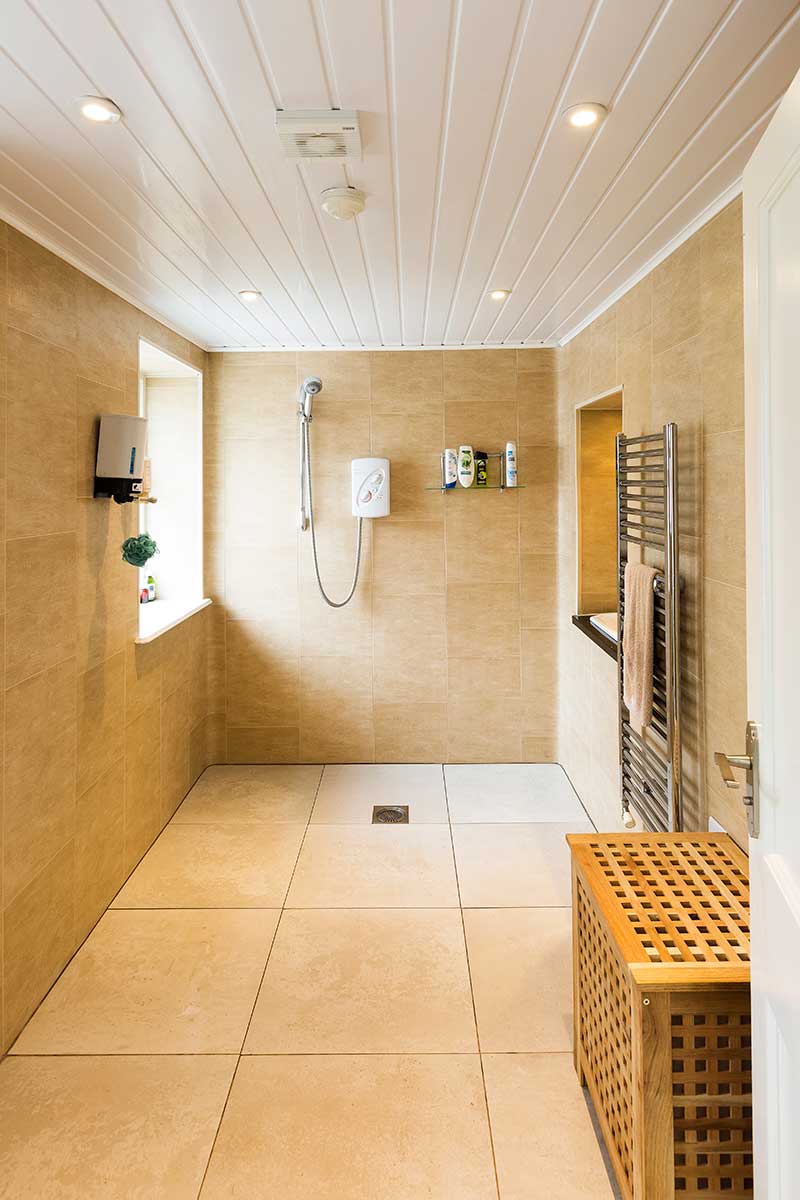
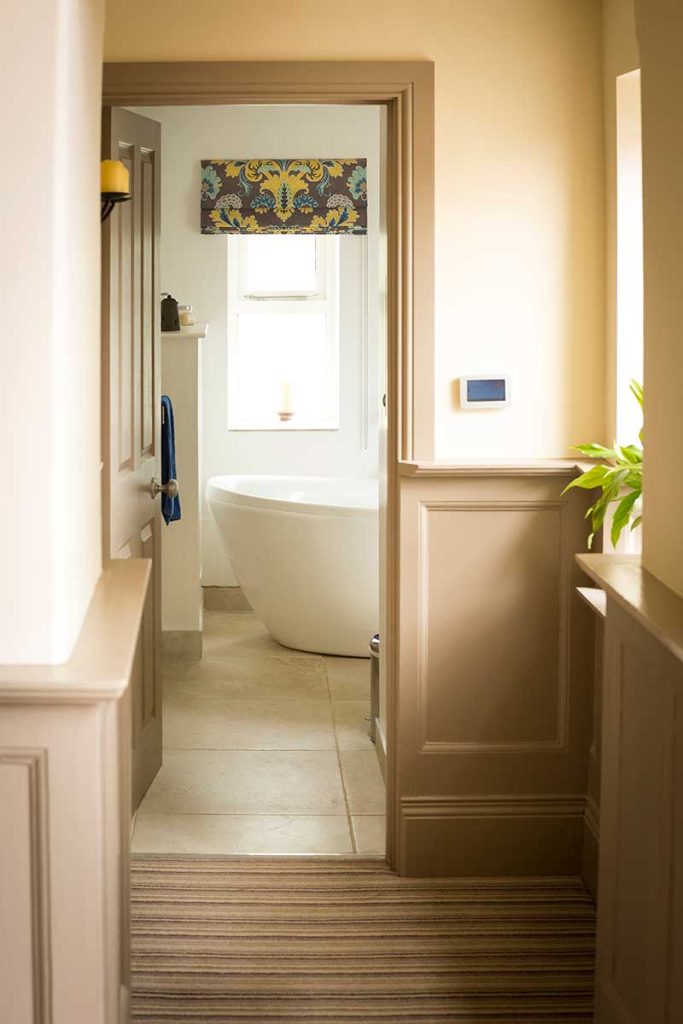
“The roof space was fully insulated and we lined the walls of some of the rooms with insulated plasterboard – the bathroom for instance has three external walls.” The suspended timber floors weren’t insulated but with carpets and rugs they are comfortable.
“We didn’t want to rip up any more than had already been, and we were conscious that the subfloor had to be ventilated, which it is with the cast iron grates.” The hall floor was badly damaged so vinyl was laid on top of ply. “I would love oak floors but we needed a hard wearing option that was low cost. When the budget allows we’ll invest in a more permanent solution.”
Balancing the books…
The budget was in fact pivotal in driving this project, which is what made it so successful but also at the same time, quite stressful. “We couldn’t get a mortgage initially because the house had to be habitable,” says Wendy.
“We spent the first six months renovating the upstairs to live in and the kitchen downstairs, leaving the rest to finish off while we’d be living in the house.”
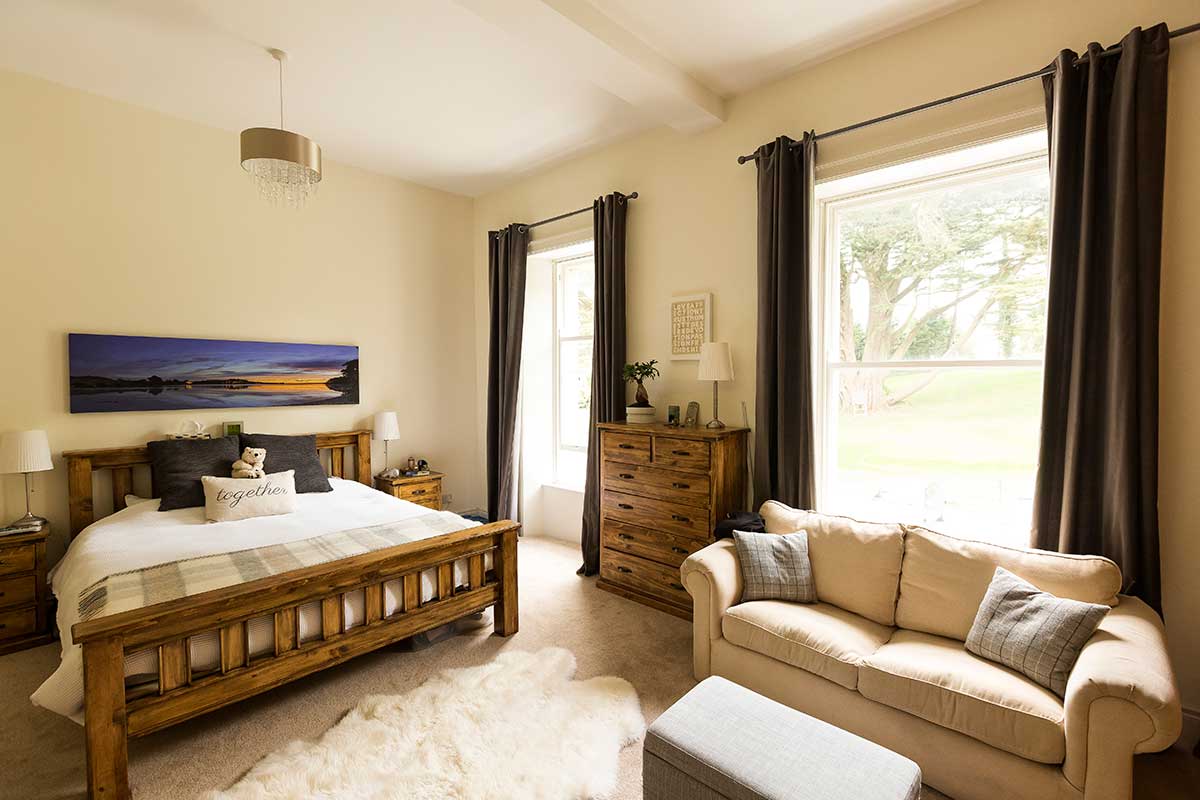
The master bedroom was the living room at this time. “You get used to living on a building site,” tempers Wendy. “It took 17 months of hard work to get where we are now.” Replacing the original lead roofs would have been prohibitive so they simply chose to felt it for now, with a view to replacing them in the future. Another example of their budget-savvy approach are the curtains.
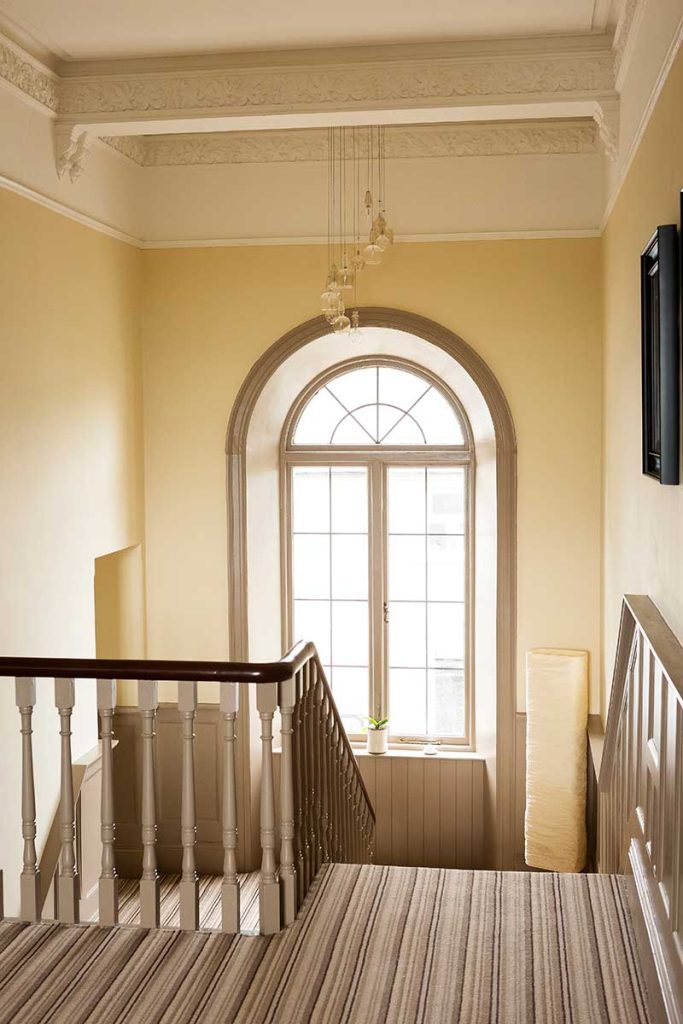
“We didn’t invest in things that could be changed easily – the curtains were bought off the shelf, we were glad to find it was possible to buy 3m lengths.” A low cost replacement she’s now very happy with is of the leaded window on the landing.
“I designed something simple to keep us going and now I quite like it. The original was stained glass though, a photograph I have of it shows it in a bad state but you can see it was quite ornate, in the 1920s style.”
They refurbished the existing sash windows with single glazing as they felt it was important to keep with the original style of the house. The draught proofing on the windows has proved very effective, says Wendy. At the rear of the house new double glazed timber windows were installed.
.. in style
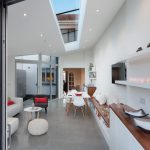
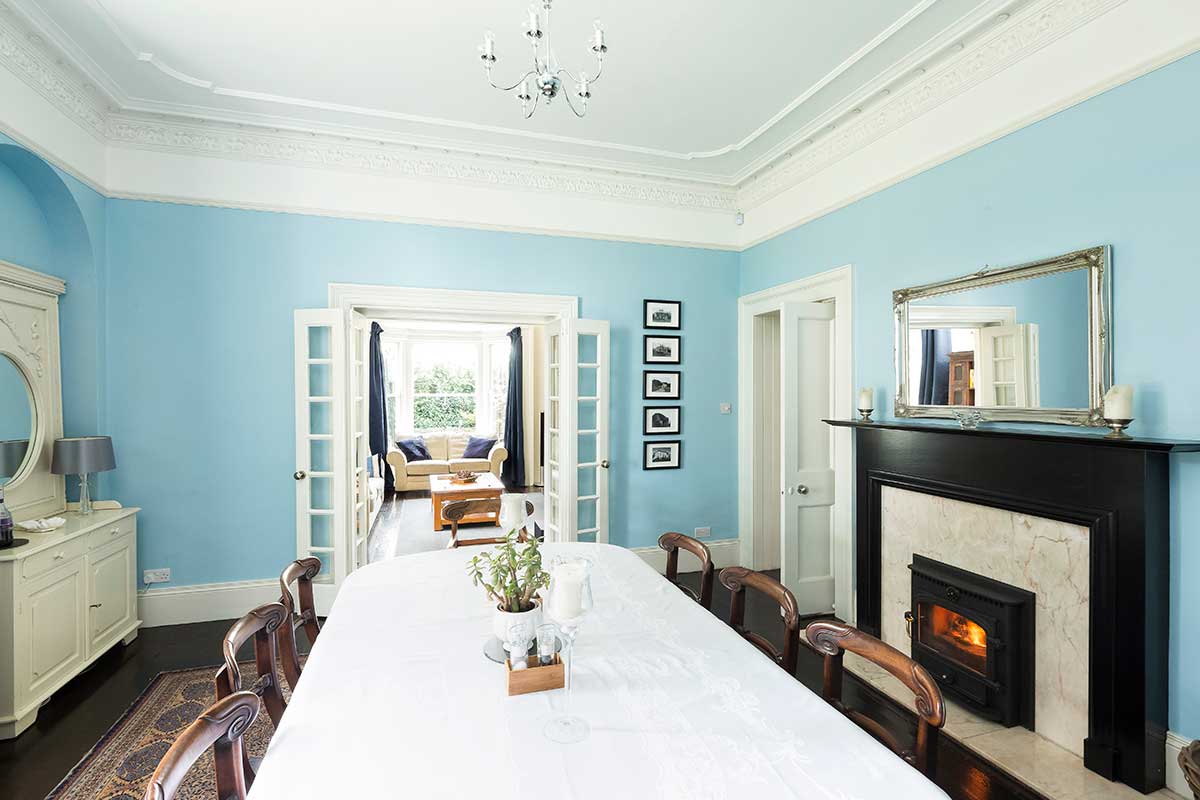
“It’s very important to keep the character, the essence of the house but we also live in different times,” explains Wendy. “There is one room furnished to close to what would have been there in the 19th century; my parents gave us a dining table and chairs from 1840.”
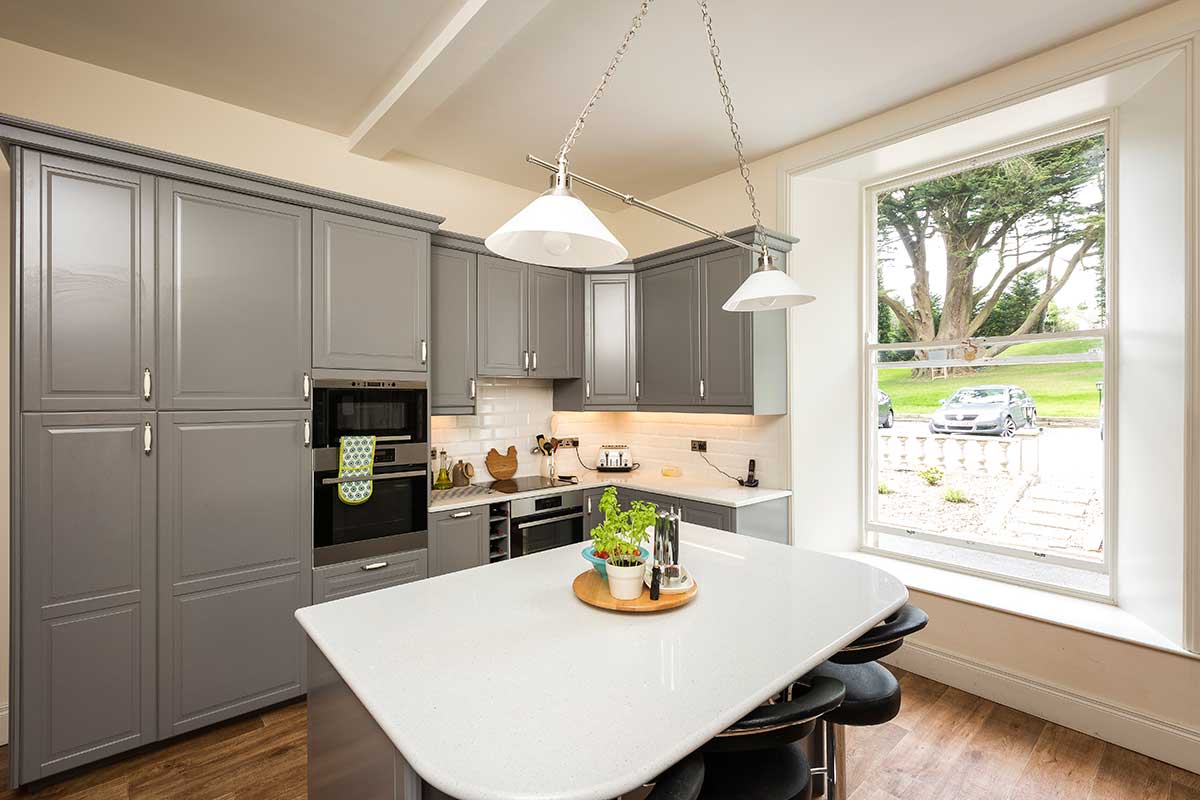
On the modern, thrifty and stylish side, the kitchen is flat pack but the worktops bespoke; not surprisingly they splashed out on the hearths and fireplaces too. For paint she let inspiration guide her. “I armed myself with a colour chart and went around the rooms, choosing what I thought would suit each use, and went with the hues I preferred,” says Wendy.

“Despite the size, it was surprisingly easy to furnish the house; we had some pieces already – we brought wardrobes with us – and we were given a lot, which essentially furnished the rooms downstairs.”
“The sliding wardrobe in our master bedroom was custom made and also houses our hot press as well as storage right to the ceiling,” adds Wendy. A fun addition, and reminiscent of the times when jugs of water and shaving bowls were left out in the master bedroom, is their sink and coffee machine concealed behind cabinet doors in their bedroom. “I can’t ever imagine this to have been a ‘wee project’ considering what I know now,” reflects David.
“But we have a home to be proud of, a beautiful setting for a special showroom and storage all on the one site so we have everything streamlined with a work/life balance which we have yearned for, for eight years while the business was fragmented.”
David and Wendy did allow the house dictate what needed to be done, with guidance from the evidence of what once was, but it wasn’t until they got photographic records 12 months into the build that they really got a sense of the house as it had originally been.
“We have a plan to replicate a lot of the features, we have a list of things to get done in the next three to five years,” says Wendy. “We’re excited to have achieved this already, but it’s only the beginning.”
Suppliers
Stoves: Clearview Stoves by County Down Stoves & Flues, Naghan Lodge, 200 Newcastle Road, Seaforde, Co Down, www.cdsf.co.uk
Kitchen: Clearview 750 High Canopy stove with baffle boiler
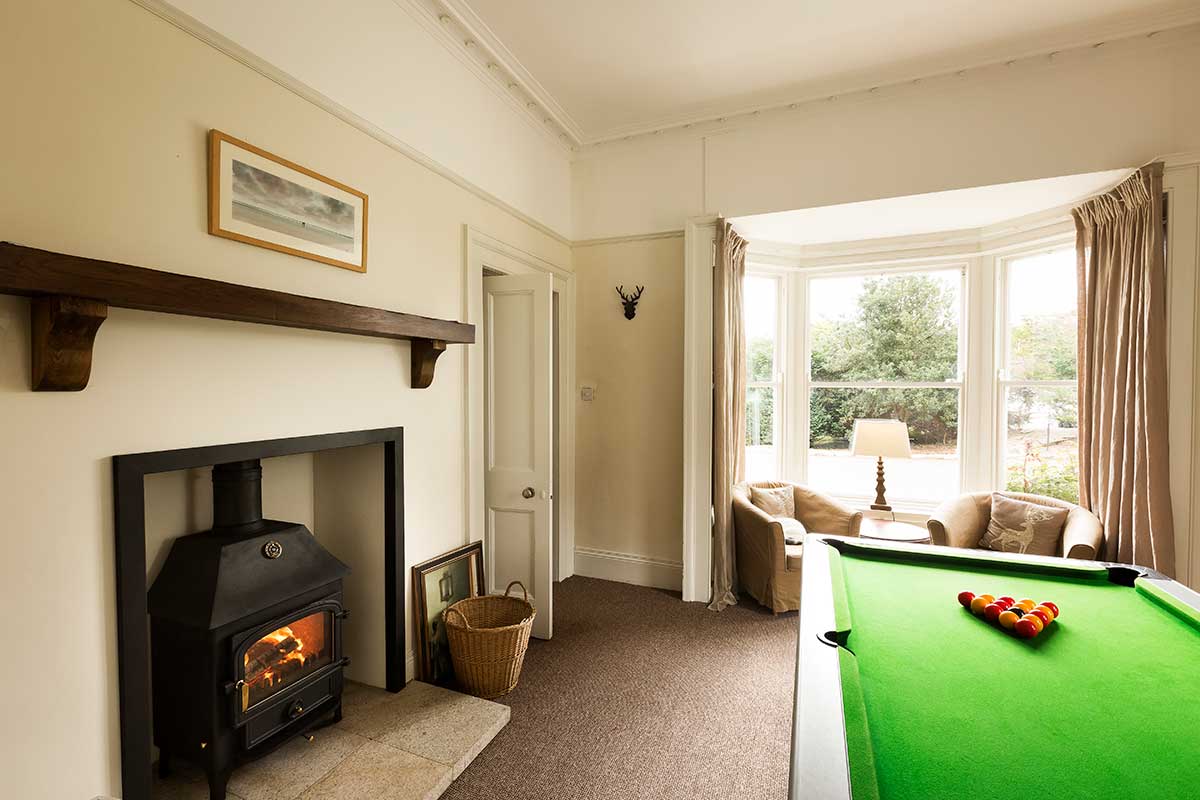
Games room: Clearview Vision 500 Low Canopy stove
Living room: Clearview Vision Flat Top stove
Dining room: Clearview Vision Inset stove
Master bedroom: Clearview 400P stove
Guest bedroom: Clearview 400P stove
Both other bedrooms (not photographed): Clearview Pioneer 400 stove
Living room fireplace, kitchen worktops & hearths: A. Robinson & Sons, Annalong, Co Down, www.arobinson.co.uk
Remote control attic stairs: Stira, Dunmore, Co Galway, www.stira.com
Steel beams and structural steel calculations: Walter Watson Ltd, Castlewellan, Co Down, www.walter-watson.co.uk
Timber & joinery / Showers & some bathroom fittings: JW McCall, www.jwmccall.com
Building materials: John Rodgers, Dundrum Industrial Estate, Newcastle, Co Down, tel. 4372 4410
Glass & glazing units: Glasseal (NI) Ltd., Ballynahinch, Co Down, www.glasseal.co.uk
Kitchen units, curtains et al.: Ikea Belfast, www.ikea.co.uk
Photographer: Paul Lindsay at Christopher Hill Photographic, Belfast, www.scenicireland.com